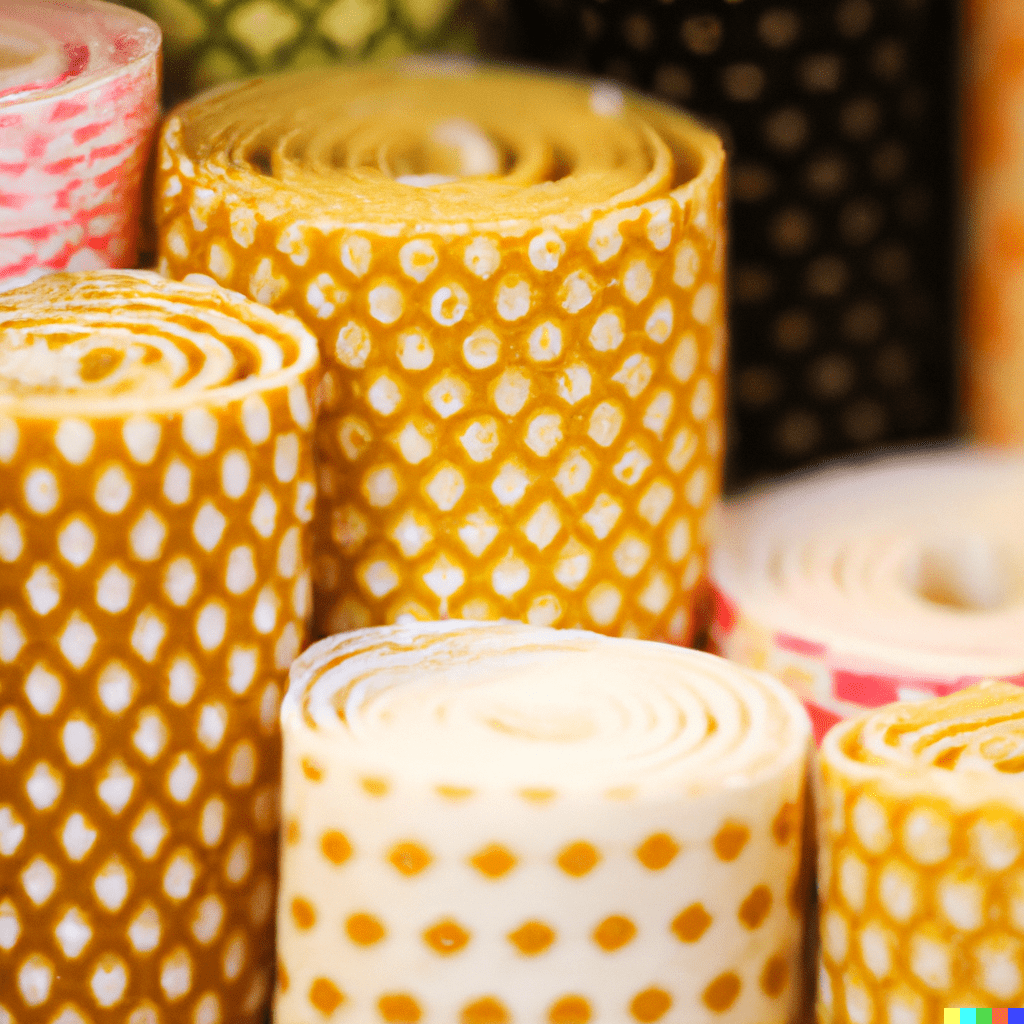
Green Living Made Easy: Create Your Own Beeswax Food Wraps
Are you ready to take a step towards a more eco-friendly and sustainable lifestyle? Look no further than our DIY project of the day: crafting your very own beeswax food wraps. These reusable wraps are not only a fantastic alternative to single-use plastic wrap but also a fun and eco-conscious way to reduce waste in your kitchen. Let’s dive into this simple yet impactful eco-friendly DIY project.
Materials You’ll Need:
Cotton Fabric: Choose organic cotton fabric in various sizes and colors to suit your style.
Beeswax Pellets: Opt for sustainably sourced beeswax pellets, which are readily available at many stores and online.
Pine Resin: This ingredient adds stickiness to your wraps. Look for food-grade pine resin for safety.
Jojoba Oil (Optional): Jojoba oil gives your wraps a pleasant scent and helps keep them pliable.
Parchment Paper: You’ll use this to protect your iron and work surface.
Grater: To grate the beeswax and pine resin.
Baking Sheet: For the waxing process.
Iron and Ironing Board: To melt the wax into the fabric.
Steps to Create Your Beeswax Food Wraps:
Step 1: Cut the Fabric
Begin by cutting your organic cotton fabric into desired sizes for your wraps. Common dimensions are 10×10 inches, 12×12 inches, and 8×16 inches.
Step 2: Prepare the Wax Mixture
In a heatproof bowl, combine grated beeswax and pine resin in a 3:1 ratio. If desired, add a few drops of jojoba oil for fragrance.
Step 3: Melt the Wax
Place your fabric pieces on a baking sheet lined with parchment paper. Preheat your oven to 200°F (93°C). Sprinkle the wax mixture evenly over the fabric. Place the sheet in the oven for about 3-5 minutes or until the wax is completely melted.
Step 4: Spread the Wax
Remove the baking sheet from the oven and use a paintbrush or a clean, dry cloth to spread the melted wax evenly over the fabric. Ensure that the entire fabric surface is coated with the wax mixture.
Step 5: Cool and Set
Allow the wraps to cool and harden. This will only take a few minutes.
Step 6: Test and Use
Once the wraps have cooled, they are ready to use. You can mold them around bowls, fruits, sandwiches, and more by gently warming them with the heat of your hands. They will hold their shape and create an airtight seal.
Step 7: Caring for Your Wraps
After use, simply wash the wraps with cool water and mild soap, avoiding hot water or excessive scrubbing. Let them air dry, and they’ll be ready for the next use. With proper care, these wraps can last for up to a year.
By creating your own beeswax food wraps, you’re not only reducing plastic waste but also embracing a more sustainable and eco-friendly way of living. These wraps are versatile, reusable, and beautiful, making them a perfect addition to your green kitchen. Say goodbye to plastic wrap and hello to a greener, more sustainable way of storing and preserving your food.
So, gather your materials, get creative with fabric choices, and enjoy the satisfaction of making a positive impact on our environment, one homemade beeswax wrap at a time. Happy crafting!

